How do you make a Pizza Box?
This activity is very entertaining for children because they make Pizzaiolo and Crafts. The activity has 2 parts: in the first part we make the pizza box and decorate it, and in the second part we make the pizza dough and then we put the ingredients….and in the oven!!
It is a family activity designed so that parents can do it with their children, even the little ones… as long as they watch them and help them.
Children have fun painting and cooking.
In our next post you will learn how to make a pizza from scratch. You will see that it comes out very good and it is very easy to do!!
Activity preparation time : 2-3 hours
Difficulty : Medium
What will you learn?: to make a box in 3 dimensions
Caution : with the scissors or the cutter
Age : from 4 if accompanied by an adult
Material:
- Paperboard
- cutter or scissors
- Pencil
- Rubber
- Tempera paints, crayons or colored pencils

Steps to follow to make the pizza box:
Find a large piece of cardboard approximately 100 x 50 cm and draw these measurements.

Keep in mind that the bottom part is bigger to be able to close the box well. The bottom square measures 40.5 X 40.5 cm and the top square measures 40 x 40 cm.
We are going to start drawing the cardboard in parts to build the box.

We separate the cardboard into 2 squares. A measures 48 x 44 cm and B measures 48.5 x 53.5 cm
Let’s draw part A first:
Draw a margin of 4 cm on the sides of face A. This is how we make the sides of the upper part of the box. The inner square should measure 40 x 40 cm.
And now we are going to draw face B:

This face is a little more complicated but you will see that little by little, we make it easy!
Start by drawing the 4.5 cm margin that remains on the left. It is marked in orange.
Then draw the 4 cm margins above, below and to the side, just as you did in the previous box. Look, it’s marked in pink.
And now, you just have to add the 2 yellow lines. The first is 0.5 cm from the vertical pink line. And the second is 4.5 cm from the rose.
These lines that you are drawing serve to fold the box.
Now we just need to cut some parts a little… look at the image and cut where there are scissors.
And now you can fold the margins to close the box. We already have it ready!
box drawing
To decorate the box, draw on a piece of paper the drawing you want to make on the box. If you want you can color it and if you don’t want, nothing happens, it’s just an indicative sketch.
When you’re done, copy your drawing to the top of the box. And paint it. You can paint it with paints, markers or pencils…whatever you prefer. You can also put other materials such as glitter, newspaper, magazine paper, etc…
Look how Sara has done:
Sara has first drawn and colored on paper the picture she wants to make for the box. Look how beautiful!:

In this photo, you can see how Sara copies her drawing on the box. When you have a drawing already done, copying it into a box is easier.

Look how well he is doing! Now you just have to color it!

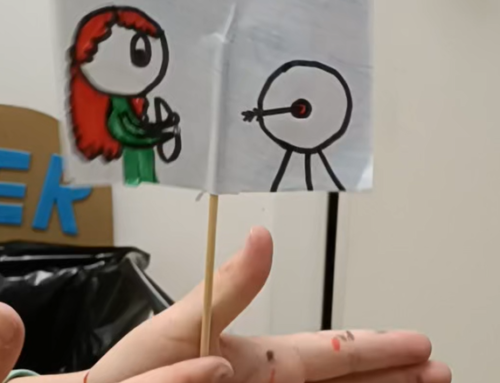
If you want to see more examples, here you can see several drawings that the children have made for their boxes. They are all beautiful!