How is egg tempera paint made?
Activity preparation time: 5-10 minutes
Difficulty: Low
Age: From 3 years old with adult supervision.
What you will learn: How to paint with different materials. How to paint as it was done in ancient and medieval times.
Caution: with pigments if they are artificial.
Material:
- Eggs
- Pigments: they can be store-bought pigments or cooking spices, earth from the park…we are looking for powdered colours to mix.
- Palette, bowl or something to mix with.
- Brushes
- 2 small bowls to put the egg yolk and egg white separately.
- You can try different types of paper.
- Cooking paper

Steps to follow to make egg tempera paint:
This activity is great fun because the children learn to paint with materials other than conventional ones.
In this case, they also learn how to paint as it was done before the use of chemically manufactured paints.
1. The first step is to break the egg to separate the yolk from the white. Save the white for later.
2. Separate the yolk from the yolk membrane: Once you have the whole yolk, separate the membrane from the orange yolk inside.
To do this, try to hold the yolk with your fingers without breaking the membrane. When you have it well secured, cut or prick the membrane and the yolk will fall into the bowl and you will have it ready to use!

If the membrane is broken by the egg yolk, don’t worry.
3. Now that we have the yolk separated from the membrane, all we need is the pigment.
4. What is pigment? The pigment is the colour that we are going to join with the yolk to be able to paint. The yolk in this case acts as a binder or glue but with the particularity that it is fatty.
Natural pigments:
Pigment is a powder. You can find them natural or chemical. The natural ones are the earth that you can find when you go out in the forest, or spices like curry, paprika, turmeric…etc, anything that has colour.
If you want to make your own pigment, choose what you want and chop it with a machine to make a very fine powder. The idea is that when you mix it with the egg there are no lumps.
Chemical pigments: you can buy them in any fine art shop. They come in all colours and are ready to mix, so they are very fine.
5. Now we can mix the egg yolk with the pigment you have chosen. Put a little bit of egg yolk on a palette and mix it with a little bit of pigment. Keep stirring with the brush and you will see how you get a very intense and bright colour. This is the Egg Tempera Painting.
6. Paint on the paper. Now you can test how it paints on paper and the feeling it gives you. This is how painters painted more than a thousand years ago, so you can feel a little bit like them.
If you want, try painting on different types of paper and you will notice how the egg adapts to each texture of the paper.
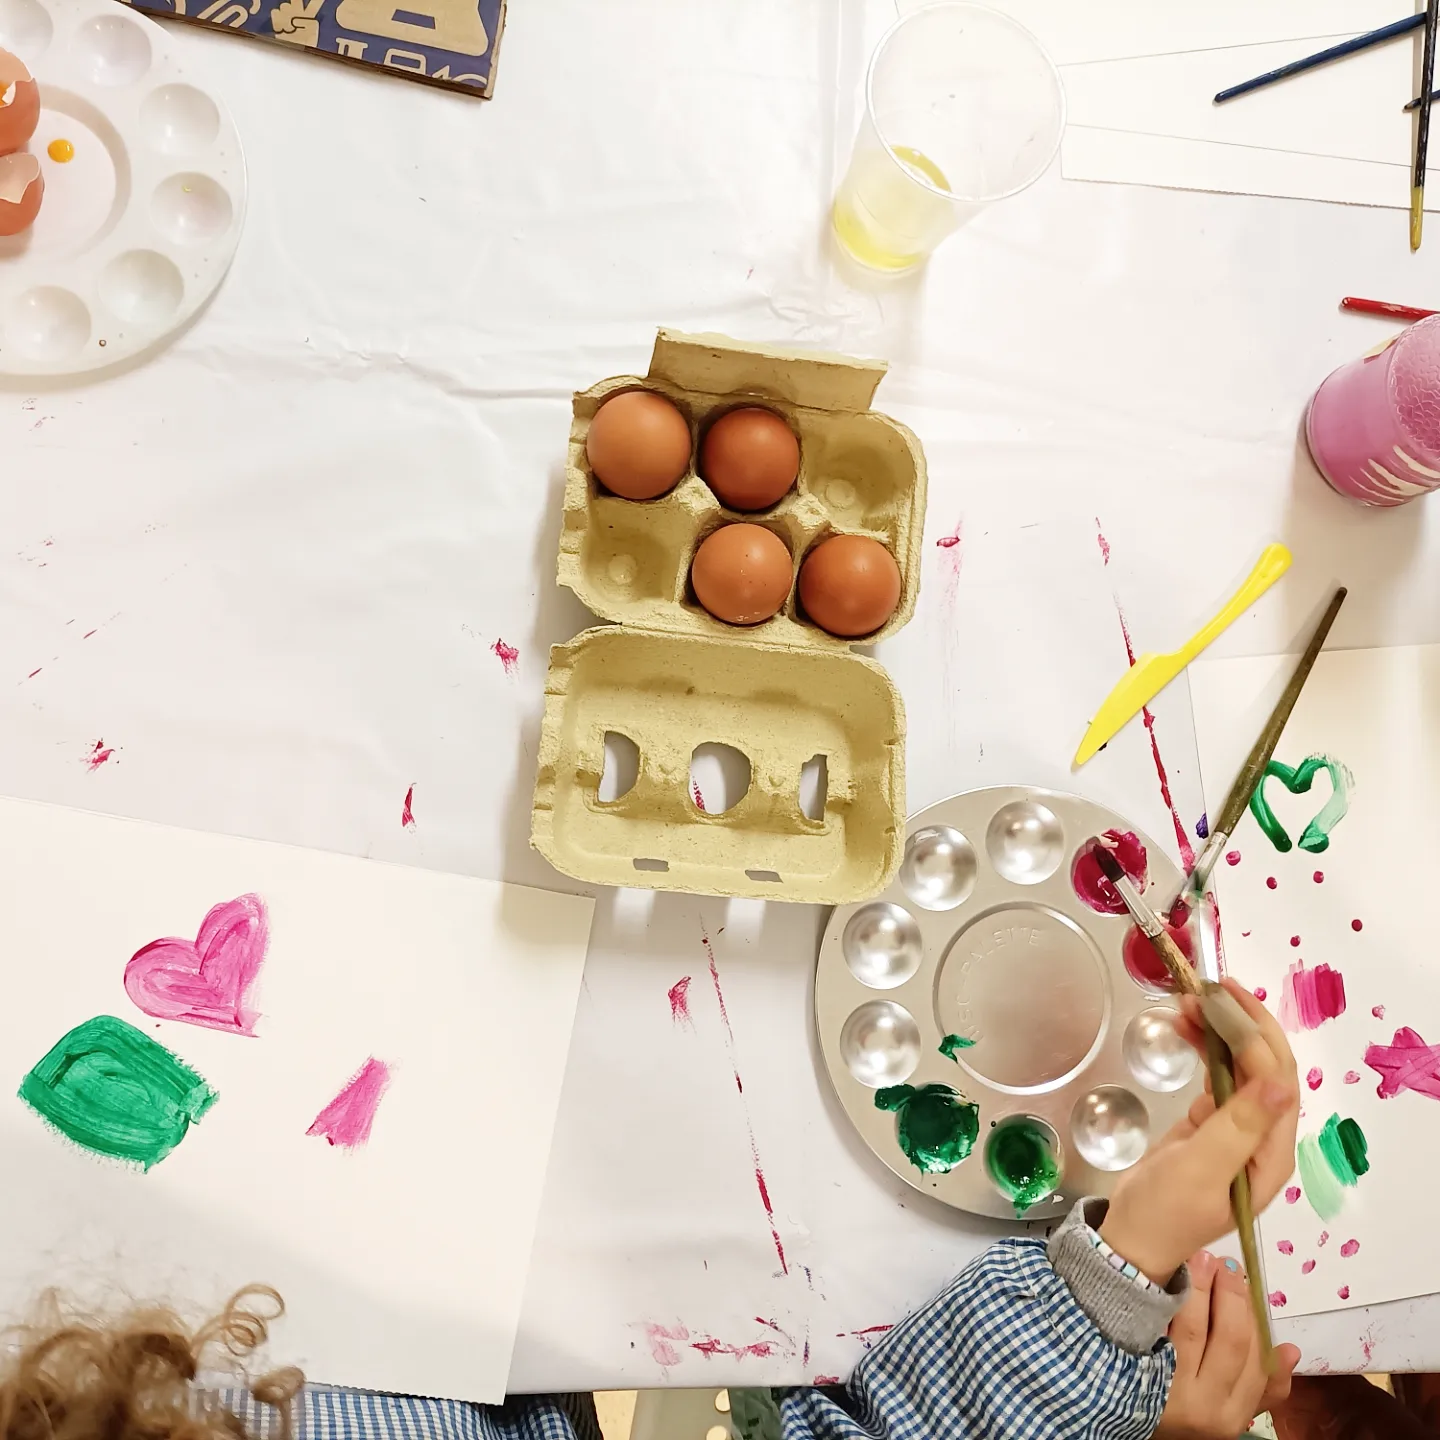
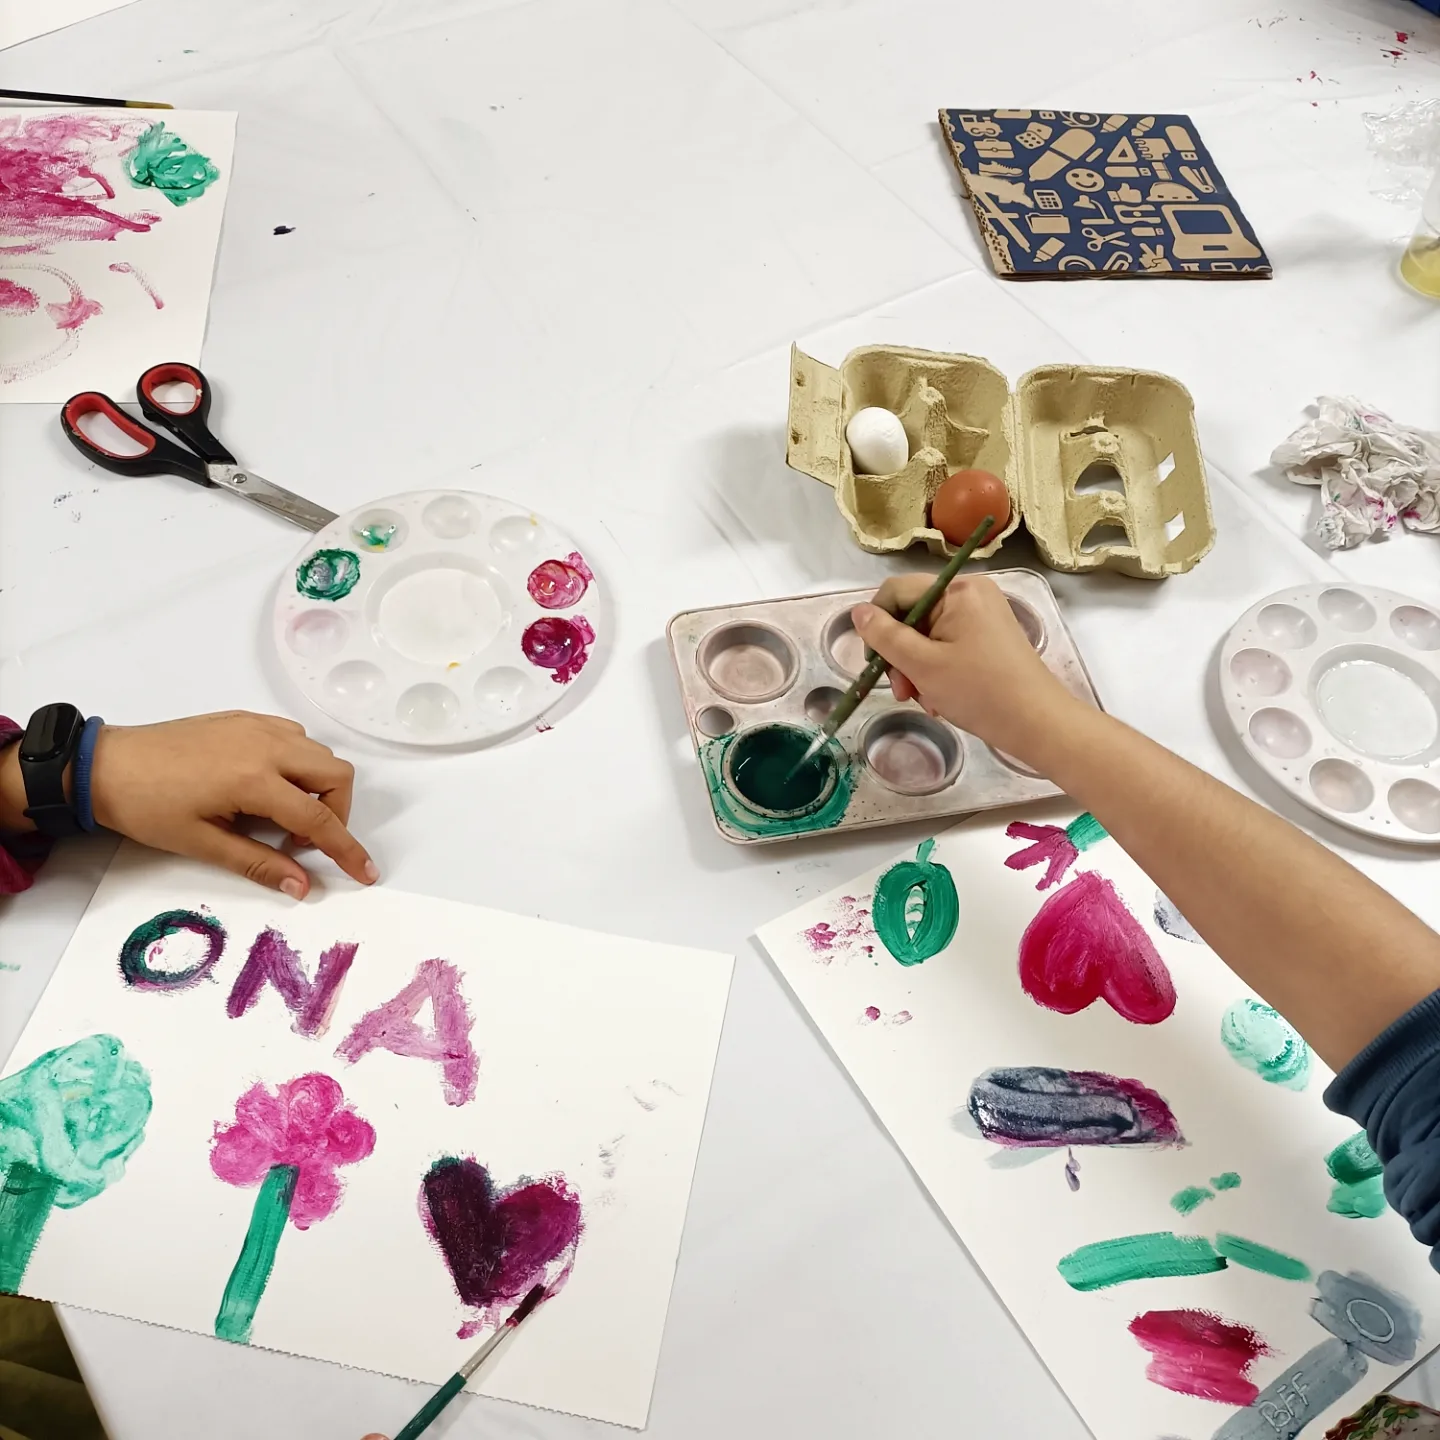
Here is a picture of the kids painting. We only used these two: pink and green.
Here is a video of how we did it:
The history of tempera paint
Until the first painters’ studios or studios that allowed painting à plein air, i.e. outside the painter’s studio, appeared in the 19th century, the painters’ studios or workshops were very similar to kitchens.
In addition, the painter often had many apprentices to help him prepare everything he needed to be able to paint on canvas. For example, the preparation of the rabbit glue that was put on the support.
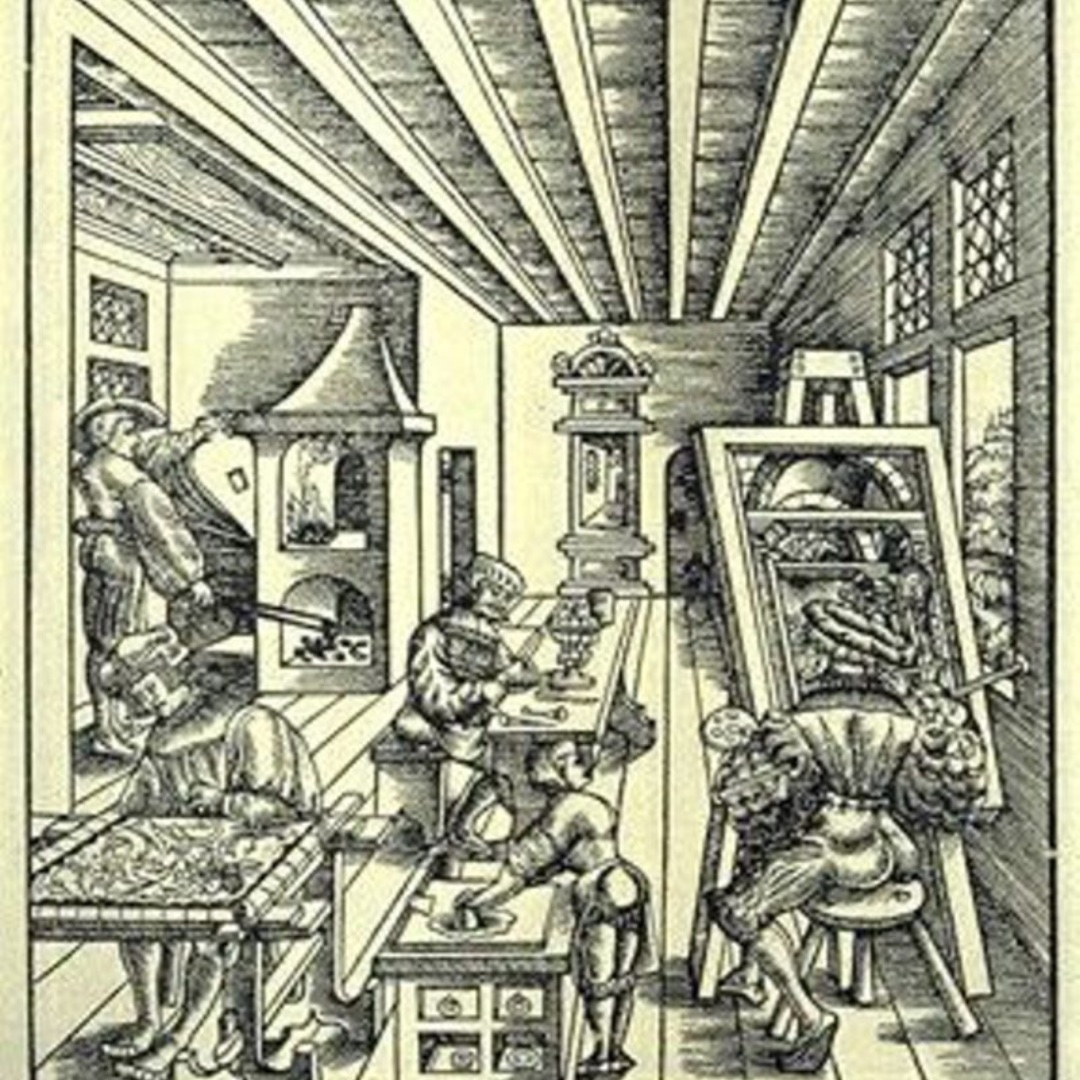
In this picture you can see how the painter is painting and how the apprentices are working in the workshop. An apprentice is making fire.
Keep experimenting:
If you want to keep experimenting you can use the egg white.
I propose these 2 activities:
1. Try mixing egg white and pigment, and paint. You will see that you get a very different feeling when you paint than when you paint with egg white.
2. Egg white is a natural glue. It is used in the kitchen to glue things together and if you want you can use it to glue papers or to glue gold leaf.
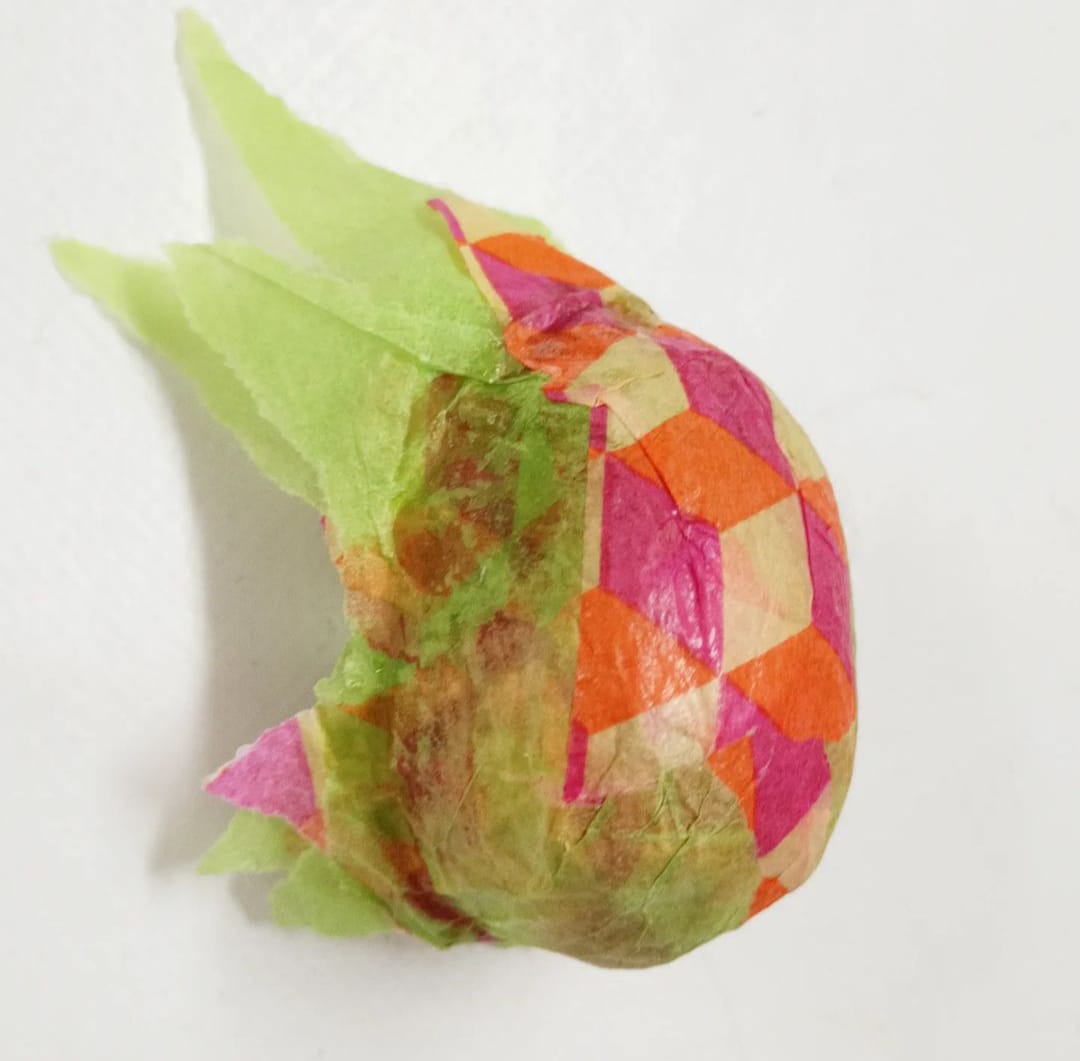
Try to glu 2 papers together. We have glued coloured tissue paper on top of the eggs. They look so pretty.

